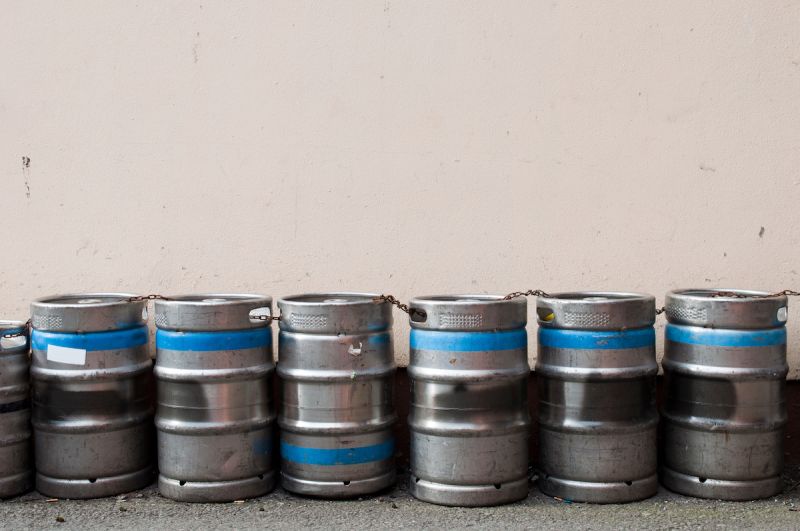
While filling cans or bottles directly from the tank eliminates some unneeded work (kegging, keg washing, handling kegs etc.) sometimes it just doesn’t work out that you are ready to fill when the tank is full, so you find yourself needing to fill from kegs. This is no problem at all for the Microbottler system; in fact, it’s what we originally designed it for.
KEG DAISY CHAINING

USE THESE TIPS FOR BEST RESULTS.
-
Cold is king
If you’re filling a carbonated beverage listen up – warmer is foamier! Ideal filling temperatures are 30-34°F (it won’t freeze because of the elevated pressure it is stored at). If it’s possible for you lower the temperature that far, you will be able to fill faster because lower tendency to foam means lower counterpressures are required, which means faster fills, so crank that chiller all the way down the day before, maybe even put the kegs on ice overnight, and fill as cold as possible – this applies to your brite tank too – colder is always better for filling. -
Keg Daisy-chaining
At the end of the keg, you blow CO2 into the lines and you get partially filled and foamy bottles or cans (not a huge deal to polish them off if you’re thirsty, but there’s a limit). Then when you tap the next keg you will have to purge the lines and cool them back down with fresh cold beverage.All of this is creating waste. This waste can be minimized by Daisy Chaining your kegs; that is, pushing CO2 into the gas infeed of the first keg, taking the outfeed liquid and sending it into the gas infeed of the next and so on until the last keg hooks up normally to the MicroFilling line.
That means the keg closest to the machine will always be filled by the previous kegs until all kegs empty and you only blow CO2 when they are all empty, which will greatly decrease your waste. This will take a small investment in plumbing supplies and keg connectors but will be well worth it. Oh yeah — and when you’re not filling, you can transfer this setup to the cold room and use it to dispense into the tap. No more kicking kegs, running in to change them and having to purge the foam back out…….. you’re welcome!
Oh, and speaking of keg connectors, they have check valves in the gas infeed port that is meant to prevent beer from flowing back out that port. These valves will cause restrictions when forcing the beer in which can cause foaming as well. They should be removed from the keg adapters that are interconnected when using the setup for filling. You should leave the check valve in the first one in line, so it can serve its original purpose. They are a little rubber piece with a flap that’s easy enough to remove or reinstall.
-
NOTE:
Even if you only have one keg to can, it may help to hook up an empty keg (cleaned and filled with CO2 ahead of time) as the first keg, just to provide a buffer to supply the full keg you are canning from with a nice constant gas pressure.
-
It’s nice to be well connected
You want to ensure the path that your beverage will flow is as unrestrictive as possible. Use the largest diameter tubing possible and keep the runs to the filler as short as possible to prevent restrictions. The only exception to this rule is in a case where you are fighting persistent foaming.
In this case, it’s sometimes beneficial to run the beverage through a longer run of smaller diameter tubing to slow it down. This can be required because of the higher pressures that will be needed in the keg/tank to keep CO2 in solution. Filling at these pressures without restricting flow with smaller tubing can cause excessive turbulence in the fill valve and in the can/bottle, which causes foam.